hugo-blog
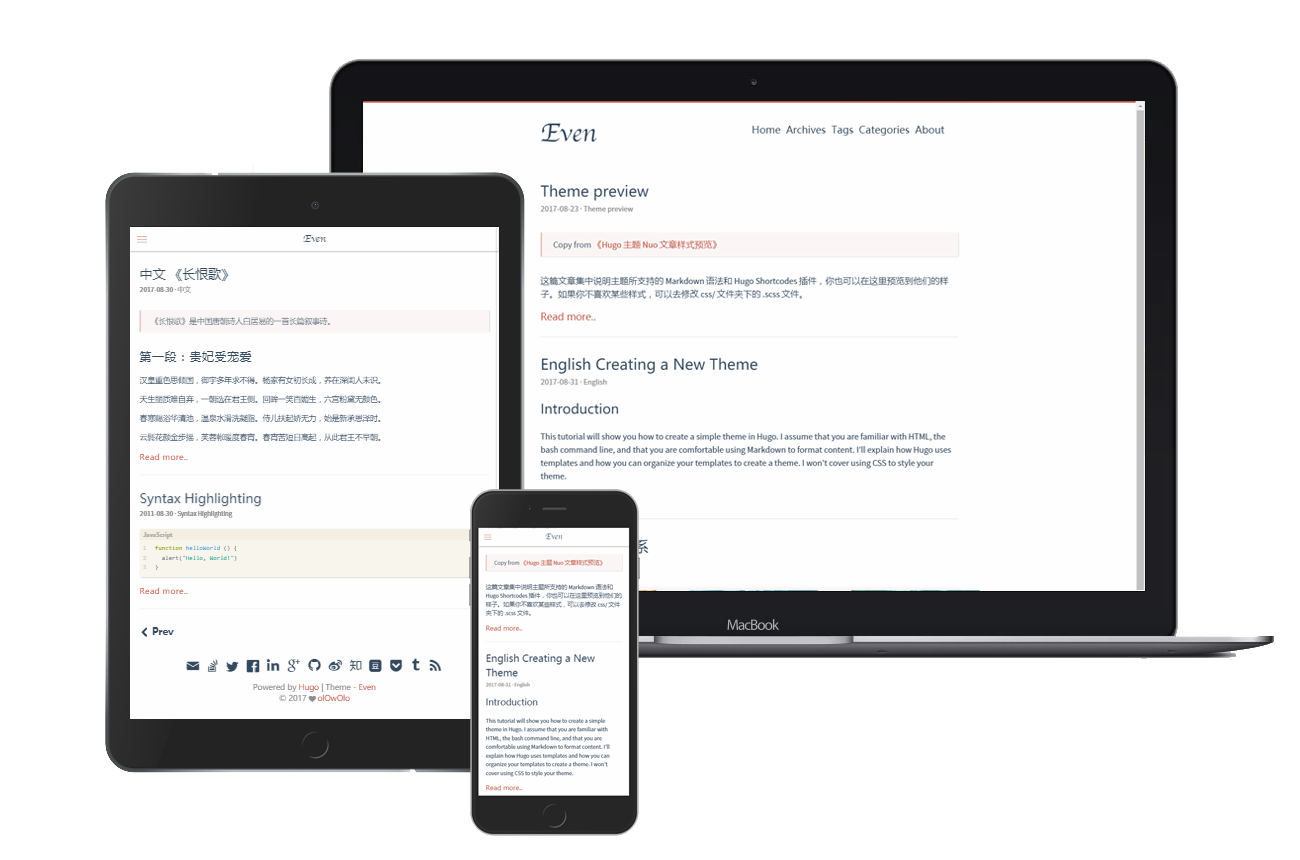
A super concise theme for Hugo
该主题移植自 hexo-theme-even
hugo_0.55.6_Windows-64bit.zip。D:\Hugo\bin文件夹中。hugo.exe。D:\Hugo\bin添加到电脑系统环境变量path中。hugo version,得到类似如下结果Hugo Static Site Generator v0.55.6-A5D4C82D windows/amd64 BuildDate: 2019-05-18T07:57:00Z,说明Hugo安装成功。1、创建blog文件,在上一步的D:\Hugo目录中执行
hugo new site blog
2、添加主题(需安装git)
// 进入D:\Hugo\blog\themes目录中cd blog/themes// 将hugo-theme-even主题克隆到本地,文件名称由hugo-theme-even改成even$ git clone https://github.com/olOwOlo/hugo-theme-even themes/even
重要:在 D:\Hugo\blog\themes\even\exampleSite目录下有一个 config.toml 文件,将这个 config.toml 文件复制到你的站点目录下(blog目录),根据自己的需求更改即可。
注意: 对于这个主题,你应该使用 post 而不是 posts,即新建文章的执行命令是hugo new post/some-content.md。
翻译资源在
themes/even/i18n/文件夹(内置在主题中),以及站点根目录下的i18n/文件夹中。两个文件夹下的翻译资源将会被合并,且根目录下的优先级大于内置于主题中的。
只需要正确的设置 defaultContentLanguage 的值即可使用翻译资源。
defaultContentLanguage = "en" # en / zh-cn / other...
同样也支持其他语言。举例来说,为支持德语,在站点根目录下创建 /i18n/de.yaml 文件。参考 en.yaml 文件查看如何编写翻译资源。
附:在多语言模式下,当前正被用于渲染网站的语言会被用于匹配翻译资源。
为了定制 favicon,你需要在站点根目录的 static 文件夹下放置下述所有文件,这将覆盖 themes/even/static/ 文件夹下的那些文件。
favicon generator (Google) 能够帮助你生成这些文件。
你可以通过 front-matter 针对每一篇文章单独进行设置。themes/even/archetypes/default.md 文件陈列了所有可用的参数。将该文件复制到站点根目录的 archetypes 文件夹下将会有所帮助。
主题提供了 center,right, left,music, admonition 这些 shortcodes,并支持为内置的 figure 设置 center,right, left 这三种 class 值。点击这里查看详细内容。
主题内置了五种颜色 ( Default | Mint Green | Cobalt Blue | Hot Pink | Dark Violet ),你可以通过改变 /src/css/_variable.scss 文件中 $theme-color-config 的值来改变主题的颜色。
如果你更改了 /src/ 目录下的任意文件,你需要重新编译它们。
cd ./themes/even/# install dependenciesyarn install# buildyarn build
cd ./themes/even/git pull
1、在Github上创建一个名称为xxxxxx.github.io的仓库(xxxxxx为你的Github账号名称)。
2、在D:\Hugo\blog\themes目录执行
$ git init$ git remote add origin git@github.com:xxxxxxx/factory011.github.io.git
3、在D:\Hugo\blog目录新建脚本文件deploy.sh。
4、在站点根目录右键打开git bash窗口执行脚本文件或者选中脚本文件右键属性,打开方式选择git bash执行程序,然后双击脚本文件即可将public一键部署到Github上。
#!/bin/bashecho -e "\033[0;32mDeploying updates to GitHub...\033[0m"# Build the project.hugo # if using a theme, replace by `hugo -t <yourtheme>`# Go To Public foldercd public# Add changes to git.git add -A# Commit changes.msg="rebuilding site `date`"if [ $# -eq 1 ]then msg="$1"figit commit -m "$msg"# Push source and build repos.git push origin master# Come Backcd ..
5、打开xxxxxx.github.io仓库的setting配置,往下找到Github Pages,选择master branch开启page服务,访问page地址,出现页面即完成。
Released under the MIT License.https://github.com/laozhu/hugo-nuo)