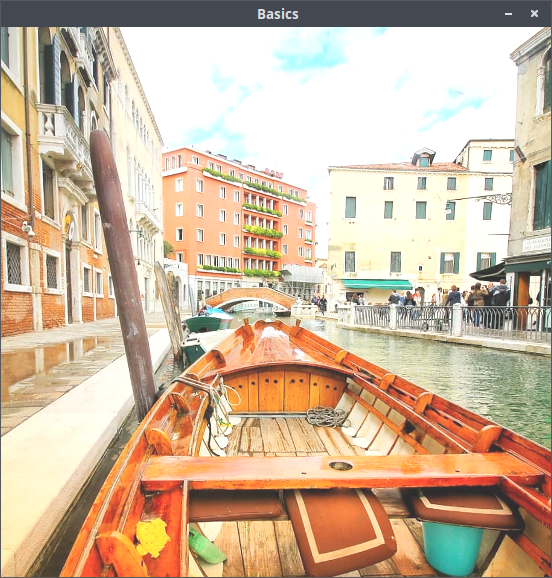
Collection of basic image processing algorithms for processing
This library collects various image processing algorithms and provides simple access to them. All algorithms are implemented
in Java and runs without any other dependencies. Some algorithms are pretty standard and others maybe do you know from Photoshop.
It starts with less basic features and grow over the last years.
If you need high power performance better use opencv for processing.
If you like this project and you want to keep me awake 🤪
![]()
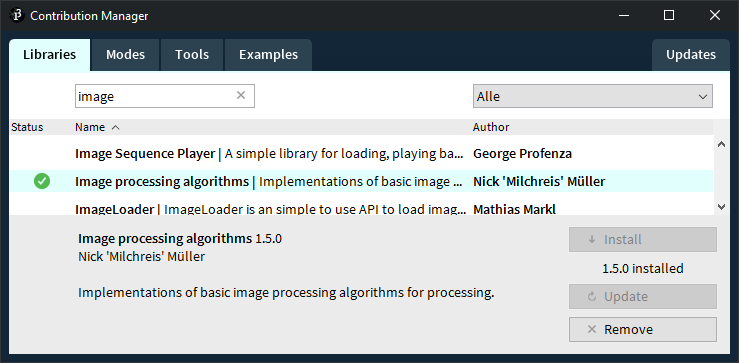
If you want to use this library in your processing sketch you can download it via the integrated Contribution Manager.
The following algorithms are supported in this library. Click on the link to see an example image and a code snippet.
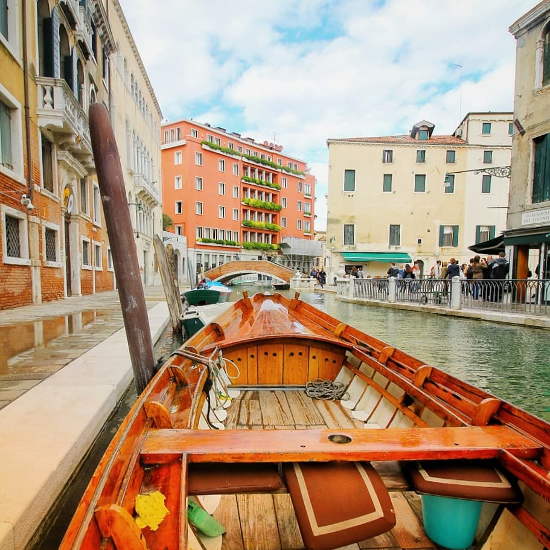
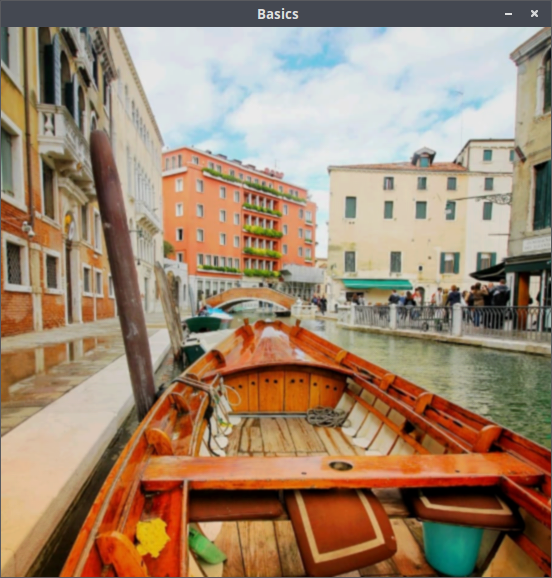
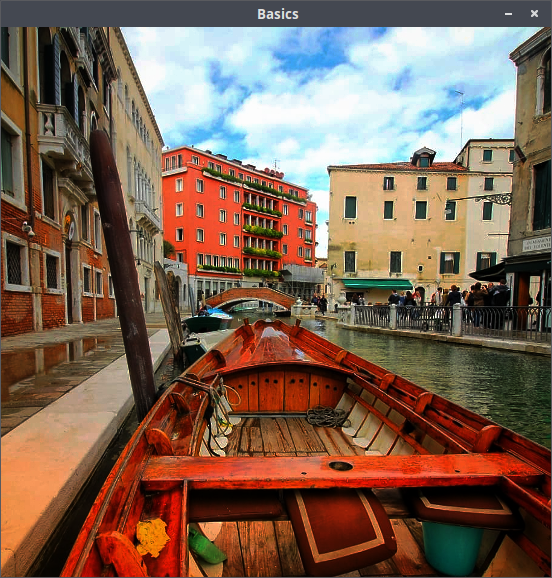
Photo taken by me more here
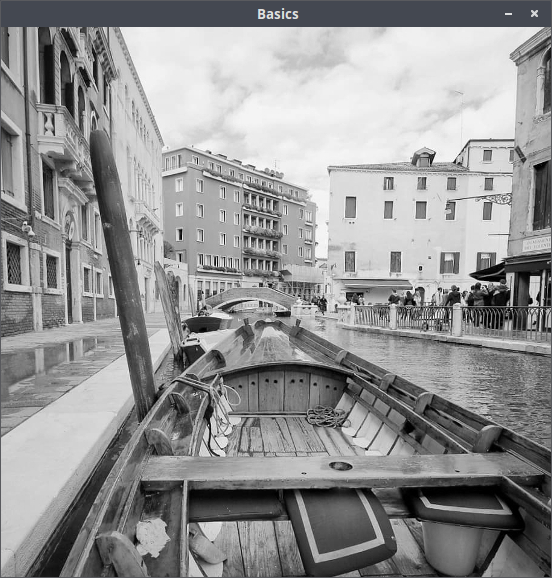
PImage processedImage = Grayscale.apply(image);
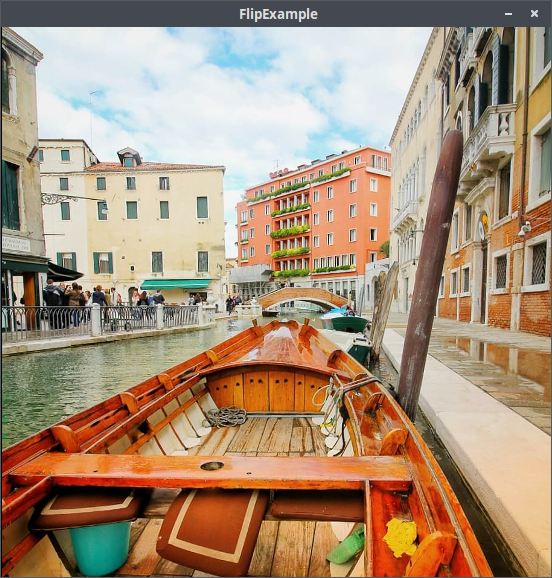
PImage processedImage = Flip.apply(image, horizontal, vertical); // horizontal and vertical are boolean
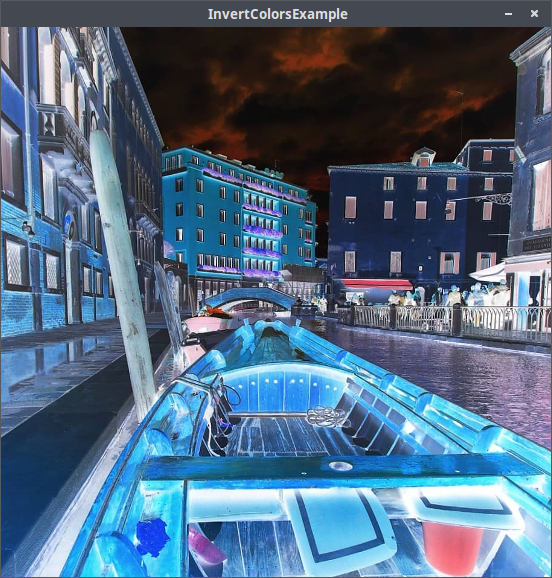
// invertRed, invertGreen and invertBlue are booleanPImage processedImage = InvertColors.apply(image, invertRed, invertGreen, invertBlue);
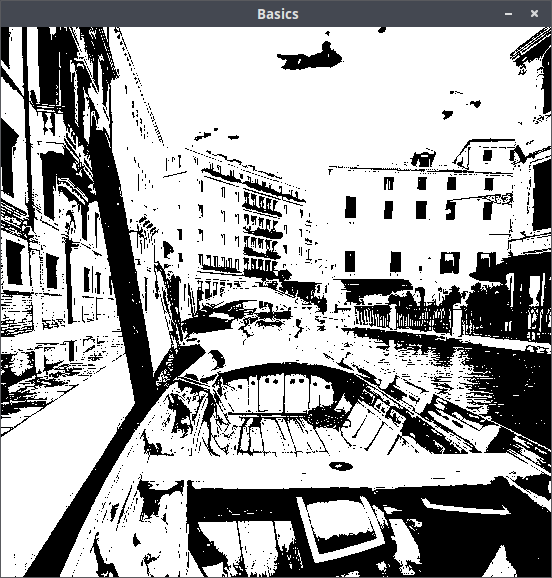
PImage processedImage = Threshold.apply(image); // Auto thresholdPImage processedImage = Threshold.apply(image, value); // Threshold value between 0 and 255
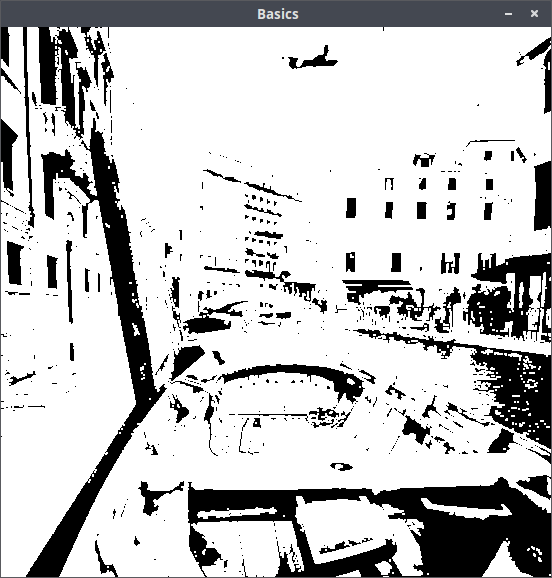
PImage processedImage = Dilation.apply(image, radius); // radius is a positive number
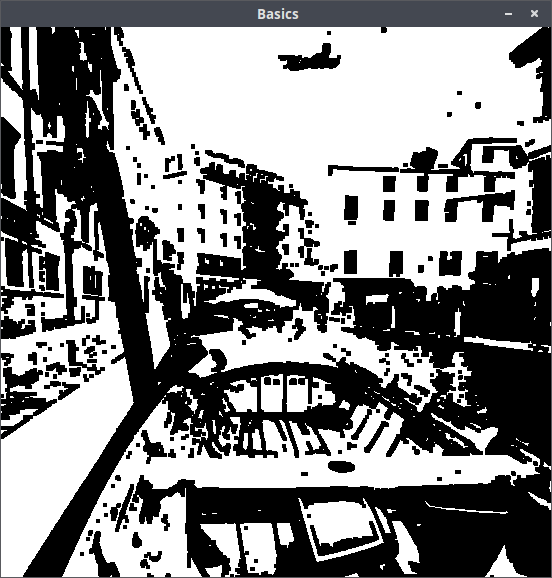
PImage processedImage = Erosion.apply(image, radius); // radius is a positive number
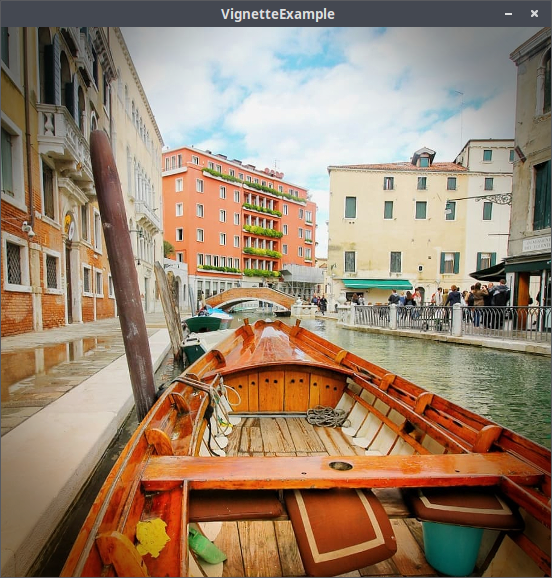
// intensity and vignetteWidth are floats between 0.0 and 1.0PImage processedImage = Vignette.apply(image, intensity, vignetteWidth);
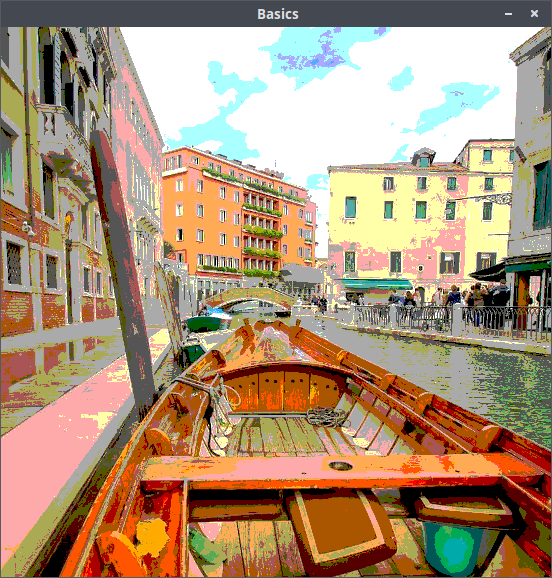
PImage processedImage = Quantization.apply(image, shades); // shades is a positive number between 1 and 255
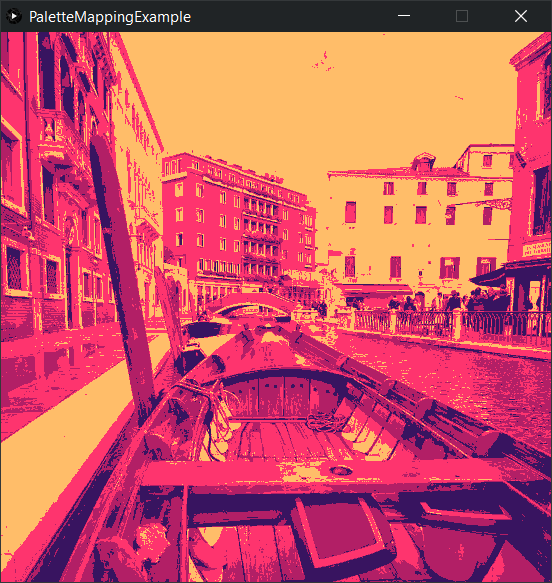
PImage processedImage = PaletteMapping.apply(image, color1, color2, color3); // Add any number of colors from dark to light
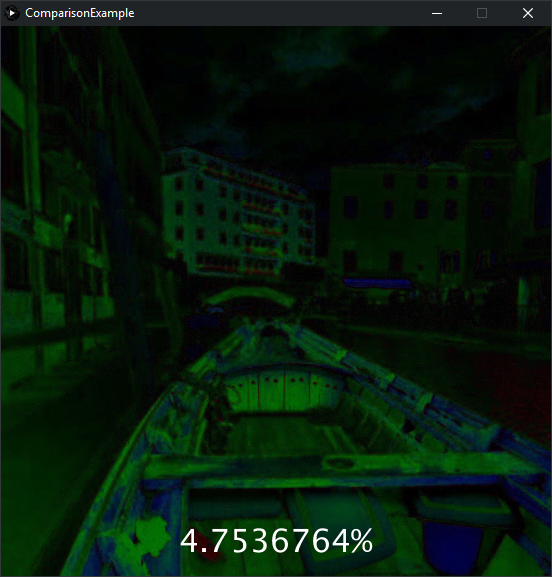
// difference is a float between 0.0 and 1.0 from less to very differentfloat difference = Comparison.howDifferent(image1, image2);// differenceImage is the difference between the pixel values (black is no difference, white is high difference)PImage differenceImage = Comparison.calculateDifferenceImage(image1, image2);
PImage processedImage = Gaussian.apply(image, 7, 0.84089642); // kernel size and sigma
![]()
// pixelsize is a positive numberPImage processedImage = Pixelation.apply(image, pixelsize);// Pixelize a sub area of the input imagePImage processedImage = Pixelation.apply(image, pixelsize, subX, subY, subWidth, subHeight);
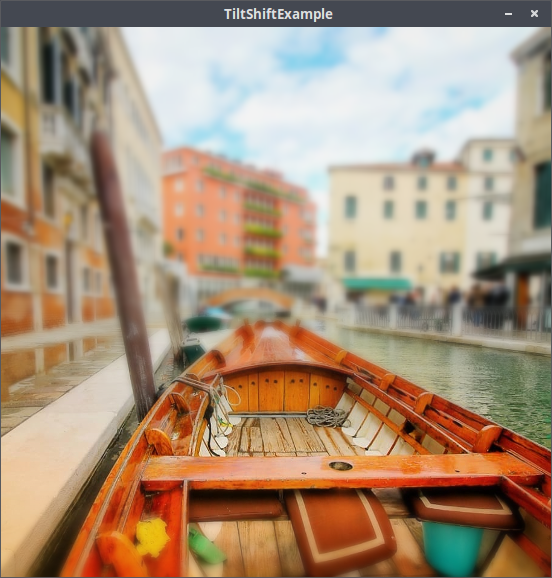
PImage processedImage = TiltShift.apply(image, blurIntensity, horizontal, position, sharpWideness);
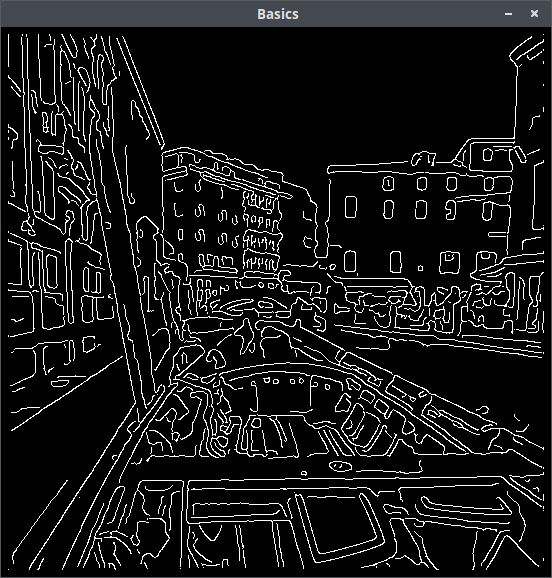
PImage processedImage = CannyEdgeDetector.apply(image);
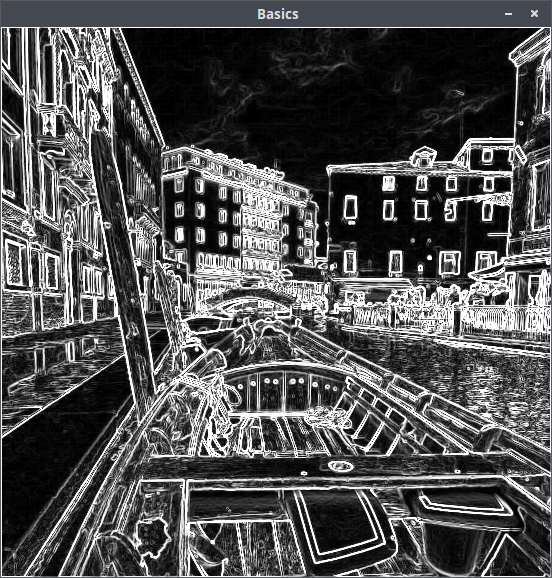
PImage processedImage = SobelEdgeDetector.apply(image);// for colored sobel (for each color channel)PImage processedImage = SobelEdgeDetector.apply(image, false);
PImage processedImage = Brightness.apply(image, value);// value isa positive number for brighting up or a negative for darken down
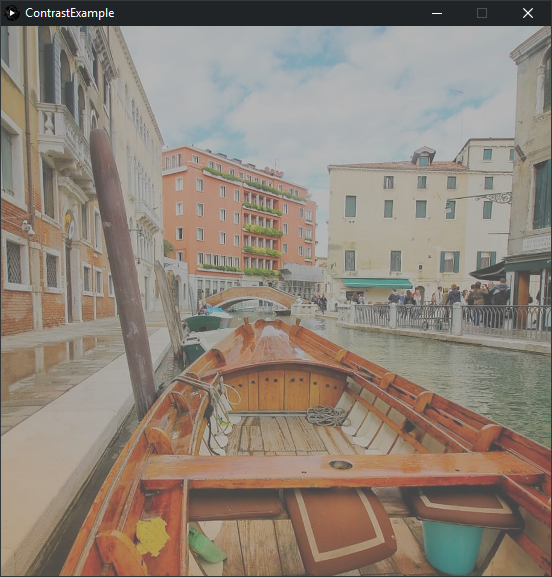
// intensity is between -1.0 and 1.0PImage processedImage = Contrast.apply(image, intensity);
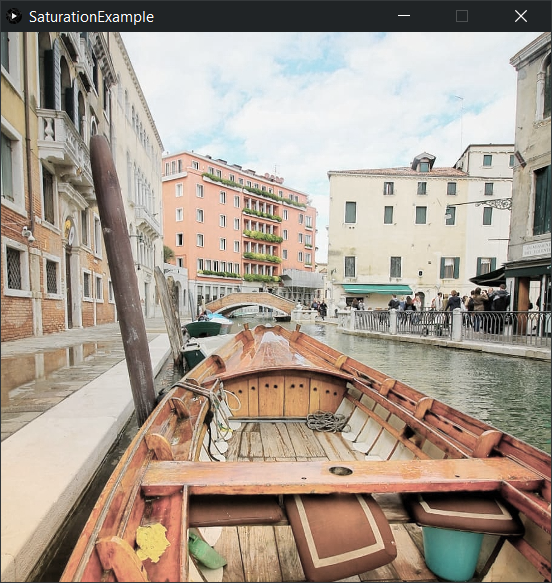
// intensity is between 0.0 and 10.0// 0.0 to 1.0 decreases and all above increases the saturationPImage processedImage = Saturation.apply(image, intensity);
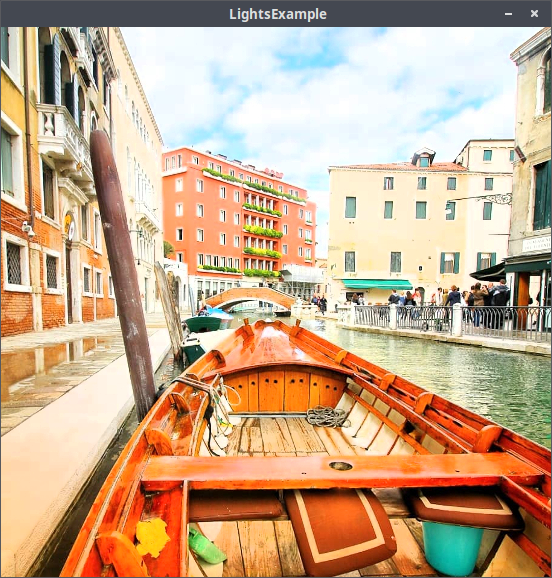
// intensity between -1.0 and 1.0PImage processedImage = Lights.apply(image, intensity);
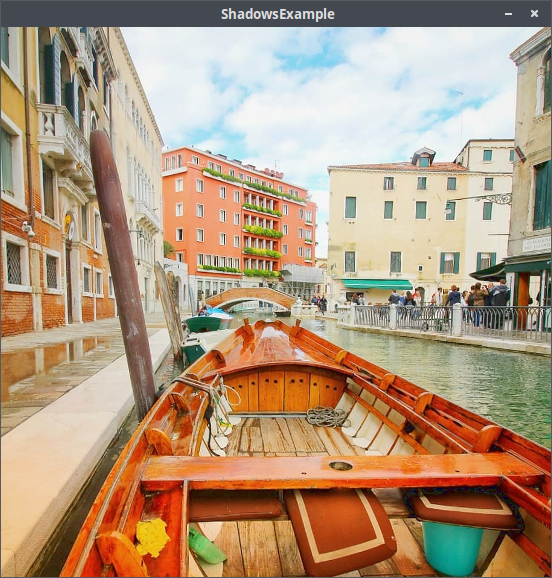
// intensity between -1.0 and 1.0PImage processedImage = Shadows.apply(image, intensity);
PImage processedImage = AutoBalance.apply(image);
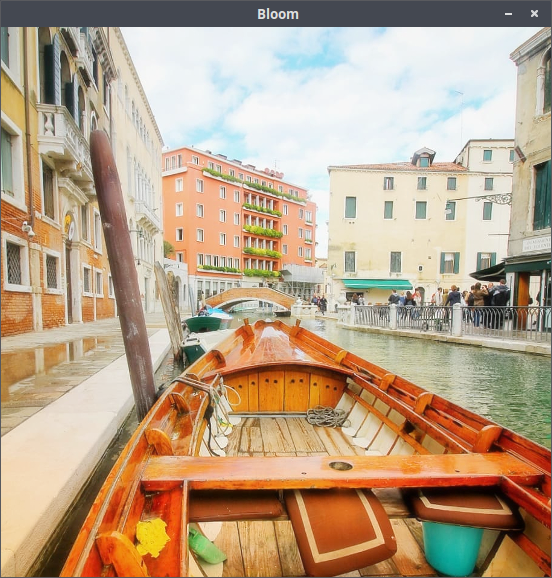
PImage processedImage = Bloom.apply(image, intensity); // intensity between 0 and 255
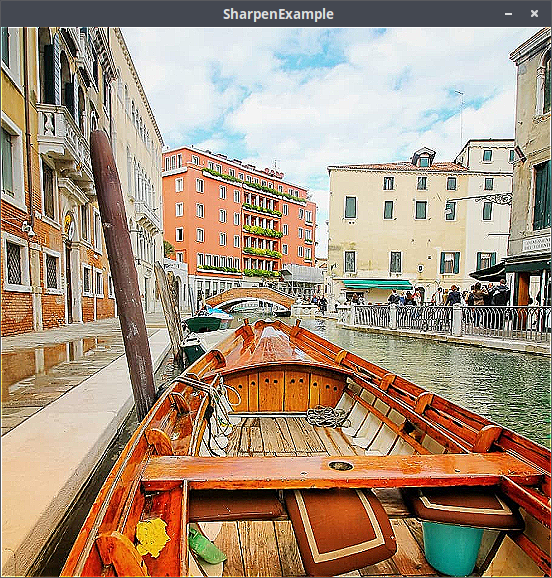
PImage processedImage = Sharpen.apply(image, sharpIntensity); // sharpIntensity between 0.0 and 10.0
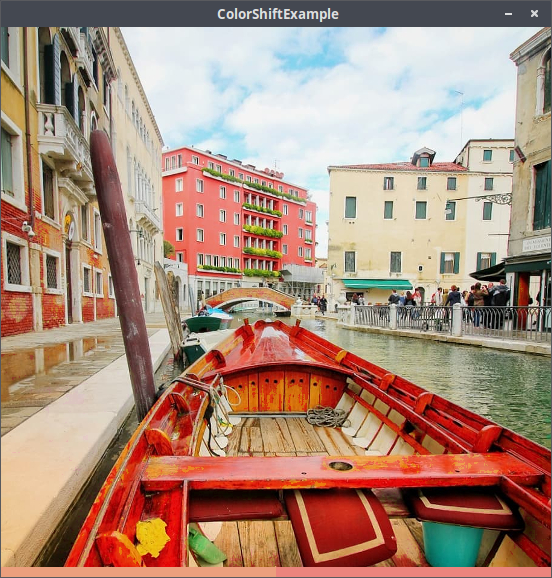
// hue is a value between 0 and 360// offset is the color range which is accepted (in hue range)// shift is the number of the subtracted or added hue valuePImage processedImage = ColorShift.applyHue(image, hue, offset, shift); // or short: ColorShift.apply(image, hue, offset, shift)PImage processedImage = ColorShift.applySaturation(image, hue, offset, shift);PImage processedImage = ColorShift.applyBrightness(image, hue, offset, shift);
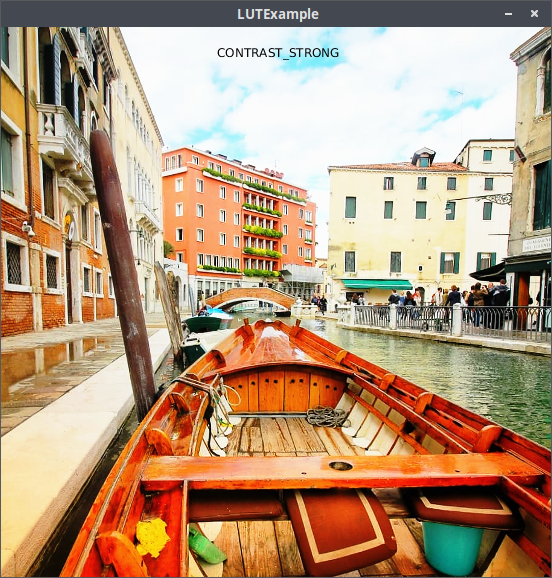
LUT style = LUT.loadLut(LUT.STYLE.CONTRAST);PImage processedImage = LUT.apply(image, style);
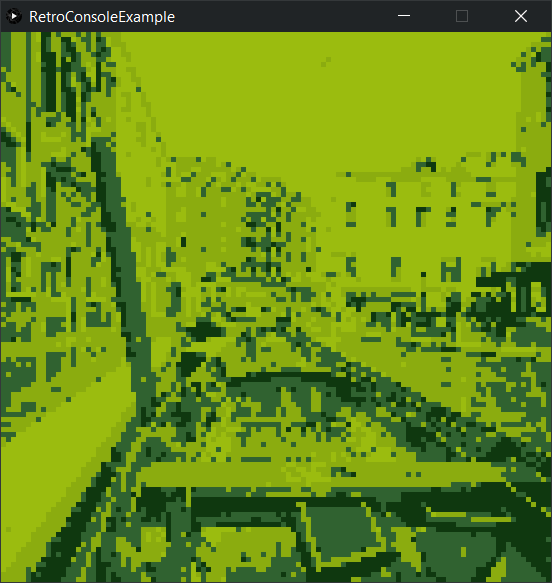
PImage processedImage = RetroConsole.applyGameboy(image, pixelSize);
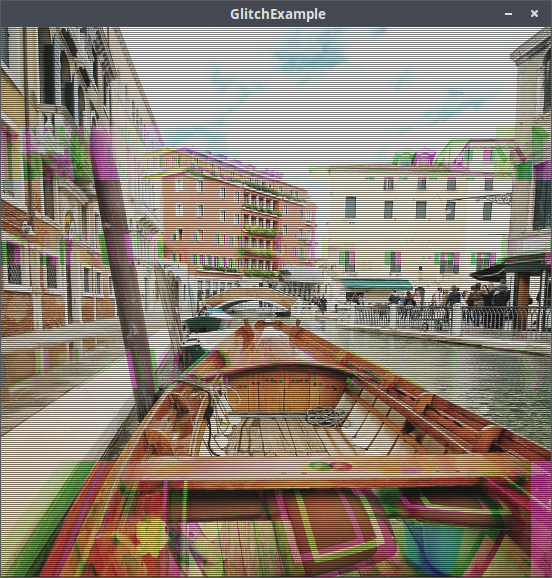
PImage processedImage = Glitch.apply(image, intensity, scanlineheight);
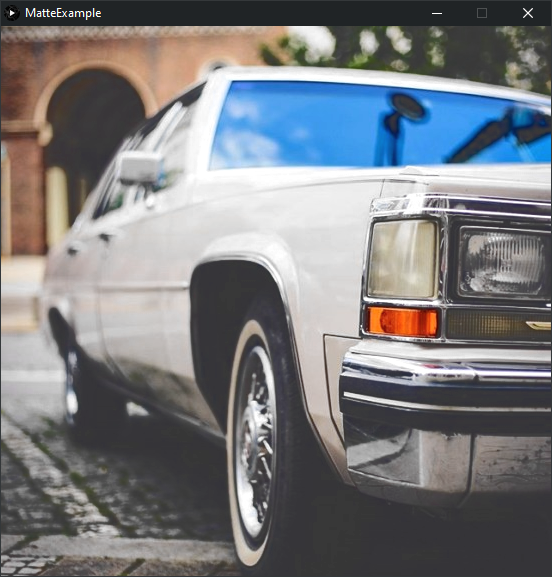
PImage processedImage = Matte.apply(image,matteIntensity, // intensity for the lifting blacks between 0 and 255contrastIntensity, // intensity for the constrast between 0 and 255saturationIntensity); // change for the saturation between -0.5 and 0.5
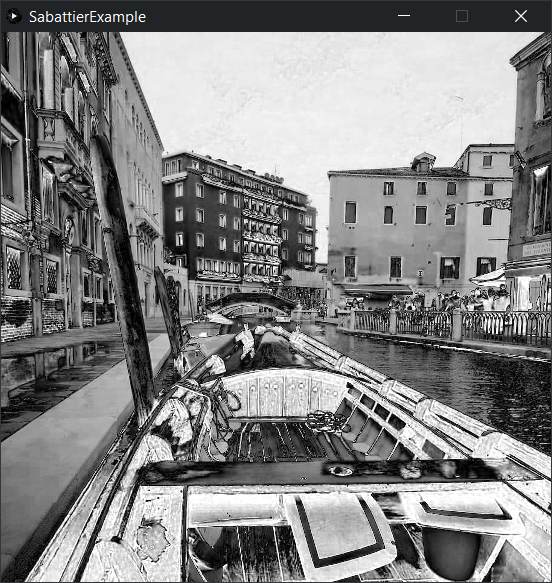
// intensity between 0.0 and 1.0PImage processedImage = Sabattier.apply(image, intensity);PImage processedImage = Sabattier.applyRed(image, intensity);PImage processedImage = Sabattier.applyGreen(image, intensity);PImage processedImage = Sabattier.applyBlue(image, intensity);
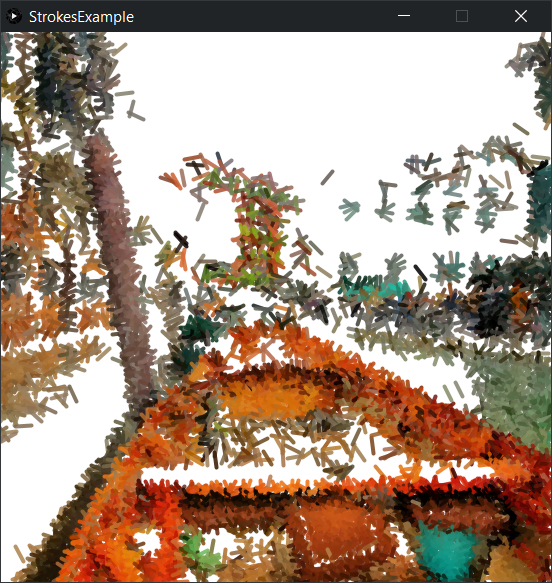
| random angles | fixed angle |
|---|---|
 |
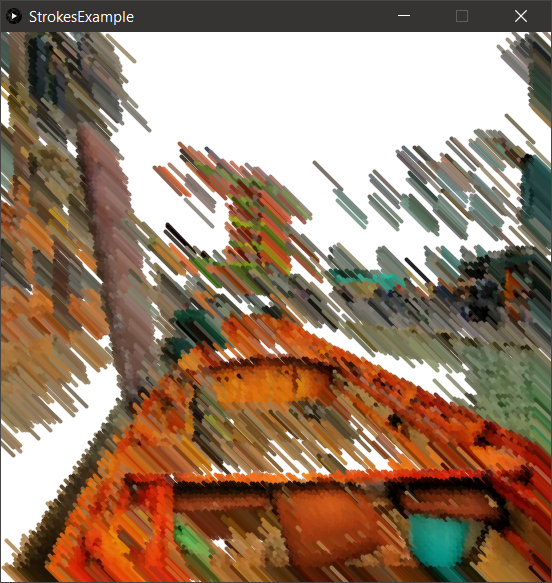 |
PImage processedImage = Strokes.apply(image, gridSize, lineLength);PImage processedImage = Strokes.apply(image,gridSize, // is positive and the area for compound pixelslineLength, // is positive and the length in pixels for each linelineWeight, // is positive and the weight of each line in pixellinesPerGrid, // the number of lines per gridlineIntensity, // alpha value for each line between 0 and 255degree, // if set the rotation is fixed in degree, otherwise randominColor, // true for colors else black and whitebackgroundColor); // color for the background
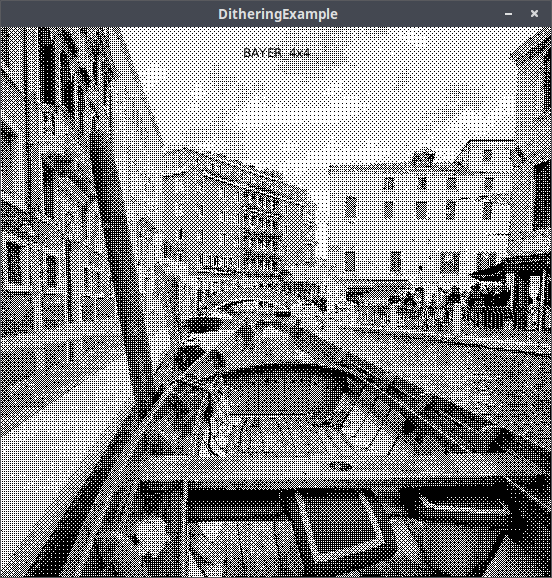
// default dithering algorithm is BAYER_4x4PImage processedImage = Dithering.apply(image);// change algrithm: BAYER_2x2, BAYER_4x4, BAYER_8x8PImage processedImage = Dithering.apply(image, Dithering.Algorithm.BAYER_8x8);// use a curstom kernel (kernel = float[])PImage processedImage = Dithering.aapply(PImage image, kernel);
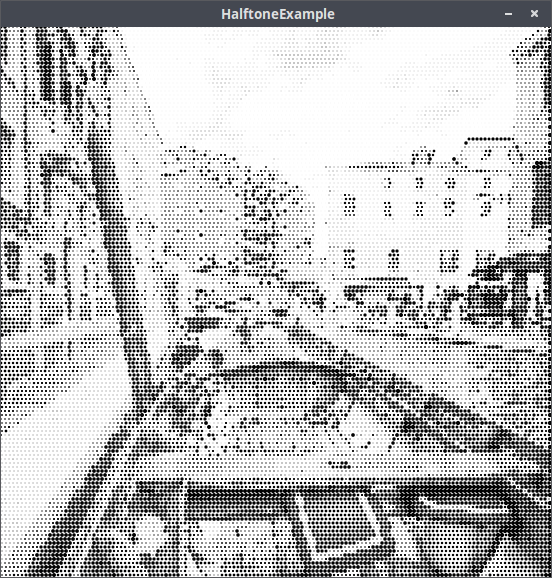
PImage processedImage = Halftone.apply(image, dotsize); // dot size in pixelPImage processedImage = Halftone.apply(image, dotsize, grid); // grid = true, on false honeycomb stylePImage processedImage = Halftone.apply(image, dotsize, foreground, background); // background and foreground colorsPImage processedImage = Halftone.apply(image, dotsize, foreground, background, grid);PImage processedImage = Halftone.apply(image, dotsize, foreground, background, spacing, grid); // size between dots in pixels
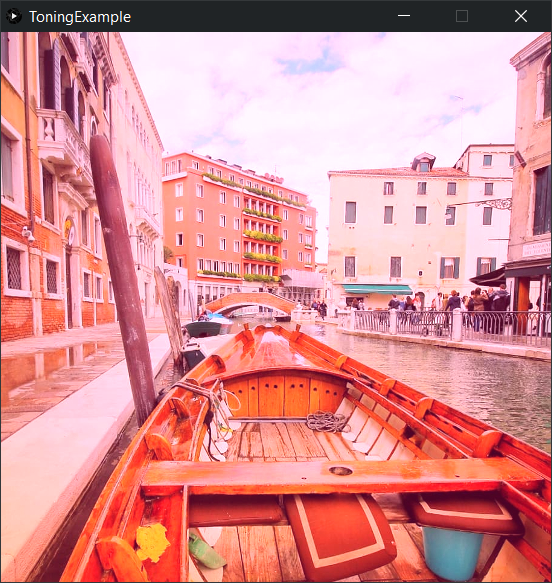
// tone is a color and intensity is a value between 0.0 and 1.0color tone = color(255, 11, 120);float intensity = 0.8f;PImage processedImage = Toning.apply(image, tone, intensity);
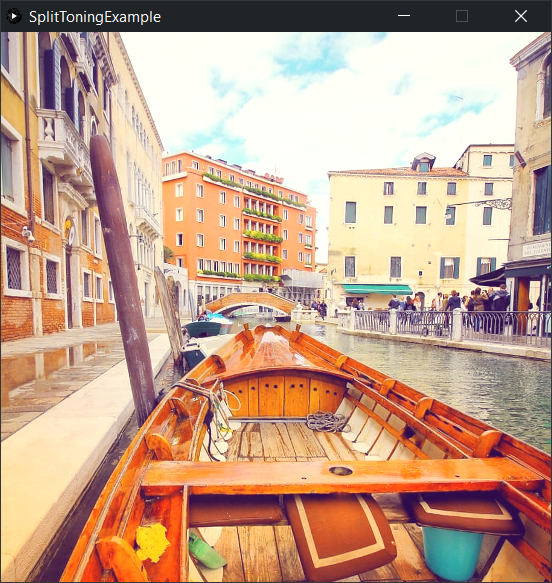
PImage processedImage = SplitToning.apply(image,highlightTone, // Color for highlighs (f.e. color highlightTone = color(211, 180, 21);intensityHighlights, // intensity for the toning in highlights between 0.0 and 1.0shadowTone, // Color for the shadows (f.e. color shadowTone = color(124, 32, 201);intensityShadows); // intensity for the toning in the shadows between 0.0 and 1.0

PImage processedImage = SineWave.apply(image, rowHeight, weight, backgroundColor, wavesColor);
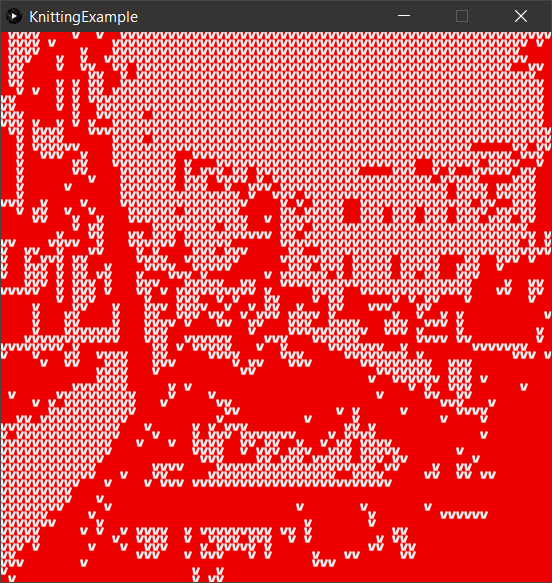
// keeps the original colorsPImage processedImage = Knitting.apply(image, size);// Sets foreground and background color and uses a thresholdPImage processedImage = Knitting.apply(image, size, threshold, 240, #EE0000);
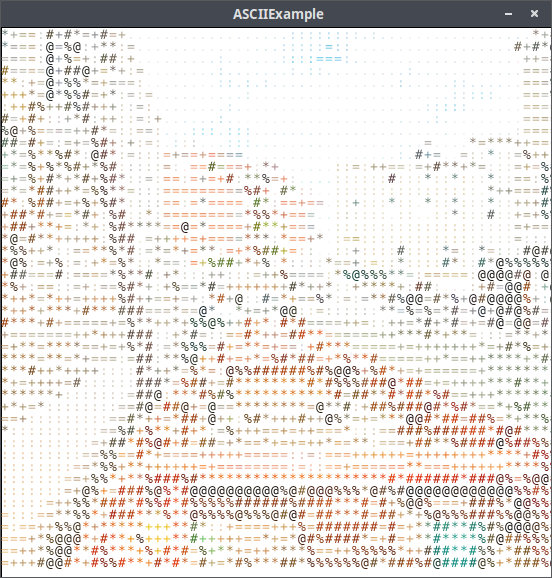
PImage processedImage = ASCII.apply(image);// characterset = ASCII.SHORT_SET or ASCII.LONG_SET, another String from black to whitePImage processedImage = ASCII.apply(image, characterset);PImage processedImage = ASCII.apply(image, characterset, fontSize); // fontSize is an integerPImage processedImage = ASCII.apply(image, characterset, fontSize, foregroundColor, backgroundColor, toneInColor);// To get the ASCII image as plain string use the following methodPImage processedImage = ASCII.getAsciiText(image);
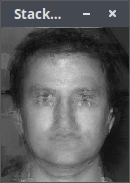
// Add so many images in the end as you needPImage processedImage = Stacker.apply(Stacker.ALGORITHM.AVERAGE, image1, image2);PImage processedImage = Stacker.apply(Stacker.ALGORITHM.MEDIAN, image1, image2);
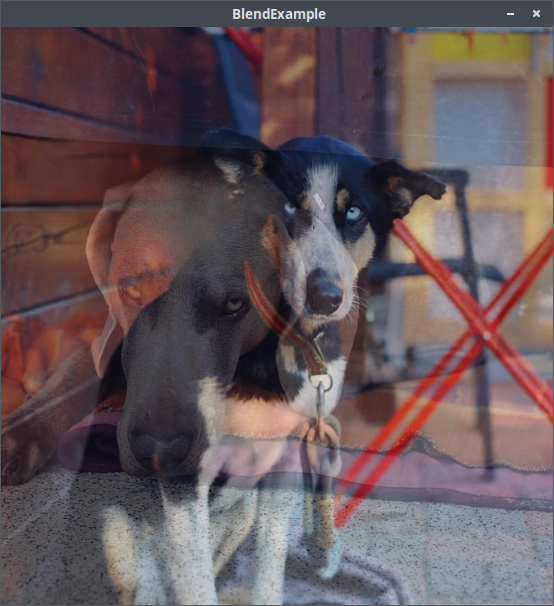
// intensity is a float between 0.0 and 1.0PImage processedImage = Blend.apply(image1, image2, intensity);
My special thanks goes to avatarr for implementing and
publishing basic algorithms. Also thank you very much Tom Gibara for your great blog post and the implementation of
the canny edge detector.
Moreover I thank you Joseph HENRY for the Sine-Wave-effect code and
uheinema for the Sabattier code in the Processing Discourse.